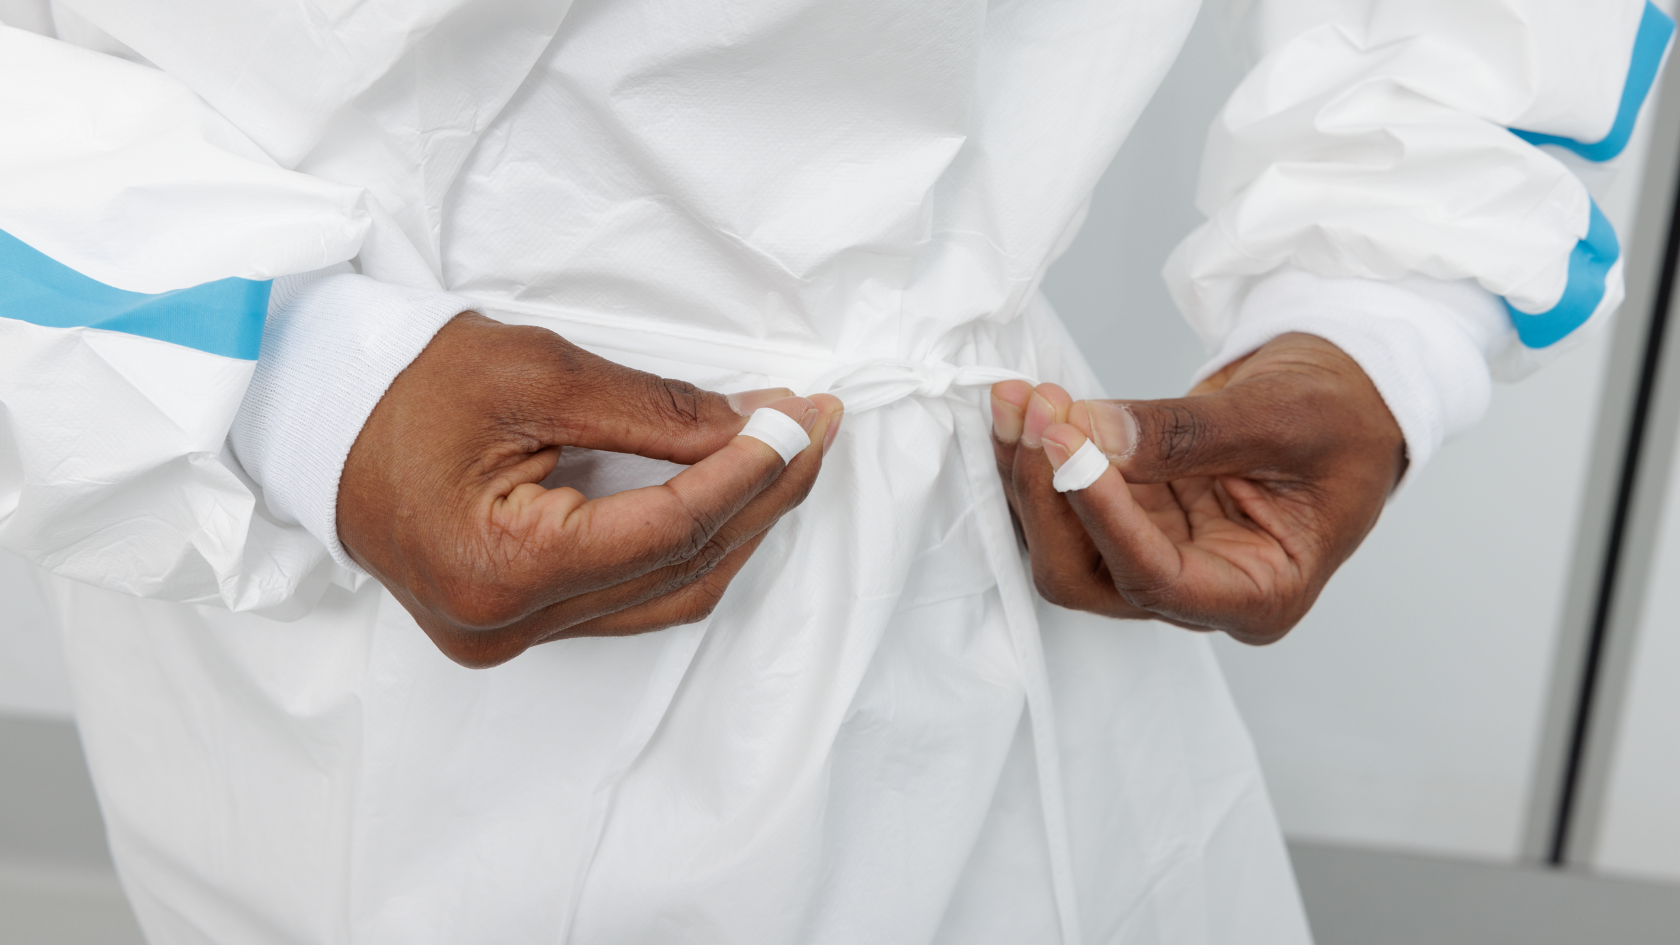
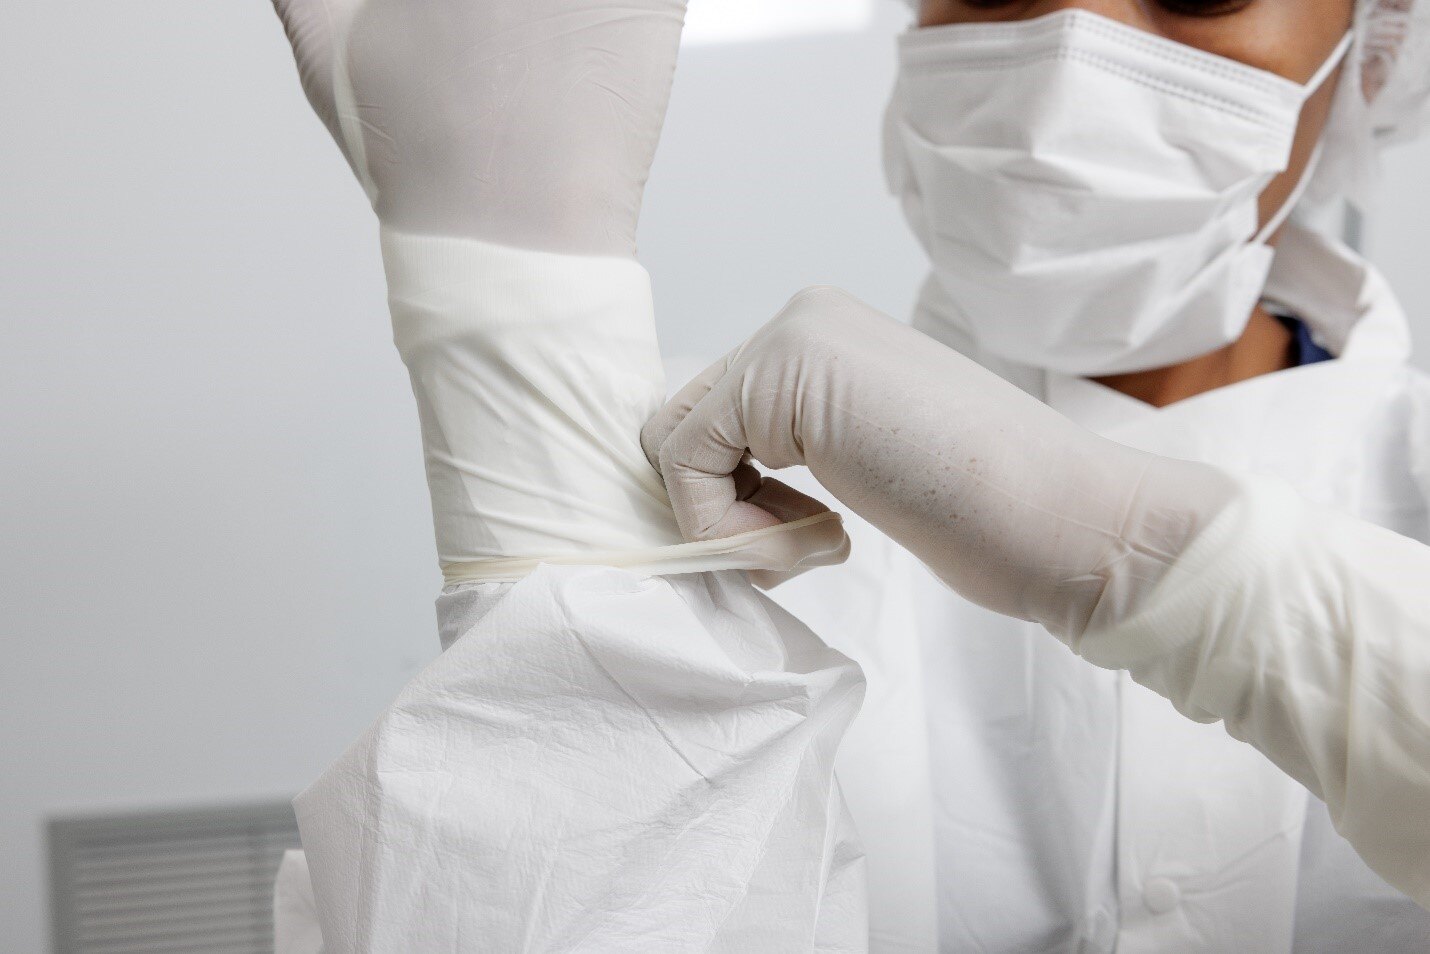
When working with hazardous drugs (HDs), it is of utmost importance to prioritize the safety and well-being of healthcare workers, preventing potential exposure.
While the United States Pharmacopeia (USP) Chapter <800> provides standards for handling HDs, it does not specifically define the doffing sequences. In this blog, we will discuss the significance of establishing a doffing area, highlight the recommended doffing sequence, and emphasize the crucial steps for effective HD doffing.
Create a Doffing Area
To ensure zero migration of HD residue outside the HD buffer room or Containment-Segregated Compounding Area (C-SCA), it is essential to define a "doffing area" immediately inside the HD buffer room or C-SCA. This area should be visibly marked as a square on the floor. Place a bench or stool along the doffing line facilitates effective doffing. Position an HD trace waste receptacle near the line in which to dispose of contaminated garb.
Recommended Doffing Sequence
The recommended doffing sequence when exiting an HD buffer room into an anteroom with the sink on the clean side of the Line of Demarcation (LOD) is outlined below. It is strongly recommended that worker training integrates visual feedback with an HD surrogate (e.g., Glo Germ or other substances) so that workers get immediate feedback as to whether they doffed correctly (no HD surrogate).
-
- Outer Sterile Gloves (doffed in C-PEC (Containment Primary Engineering Control)): Begin the doffing process by removing the outer pair of sterile gloves inside the Containment Primary Engineering Control (C-PEC) using the appropriate technique.
- Outer HD Gown: Walk to the doffing area but remain just outside of it. Carefully remove the outer HD gown, ensuring it does not come into contact with your skin or contaminate other surfaces turning it inside out as you go. Dispose of the gown in the designated HD trash can.
- Outer Shoe Covers: Sit down on the bench or stool to carefully remove the outer shoe covers one at a time. As each shoe cover is removed, place it in the trace waste receptacle. Remove the exterior shoe covers carefully without contaminating the interior shoe cover. Place that foot inside the doffing area. Repeat with the other foot and shoe cover. After both shoe covers are removed stand up inside the doffing area.
- Inner Gloves: Now, while standing inside the doffing area, remove the inner gloves by grasping the palm area of the first glove. Pull it off and hold it balled up in the glove of the other gloved hand. Slip the forefinger of the ungloved hand under the cuff of the second glove pulling it off inside out making a packet that contains both gloves.
- Leave the HD Buffer Room.
- Inner Non-HD Gown: If the doffing process has been executed correctly and the HD shoe covers were seamless and plastic, then the inner non-HD gown, inner shoe covers, head and face covers are not contaminated with HD residues (this is why it is important to train with visual feedback). Remove the inner non-HD gown and either dispose of it or hang it up for later reuse.
- Perform Hand Hygiene: After removing the inner non-HD gown, thoroughly wash your hands following appropriate hand hygiene protocols to eliminate any potential residual contamination.
- Cross the line of demarcation (LOD) to the “Dirty” Side of Anteroom.
- Head, Face, and Inner Shoe Covers: Remove the head, face, and inner shoe covers and dispose in trash.


-medium.jpg)
.jpg)